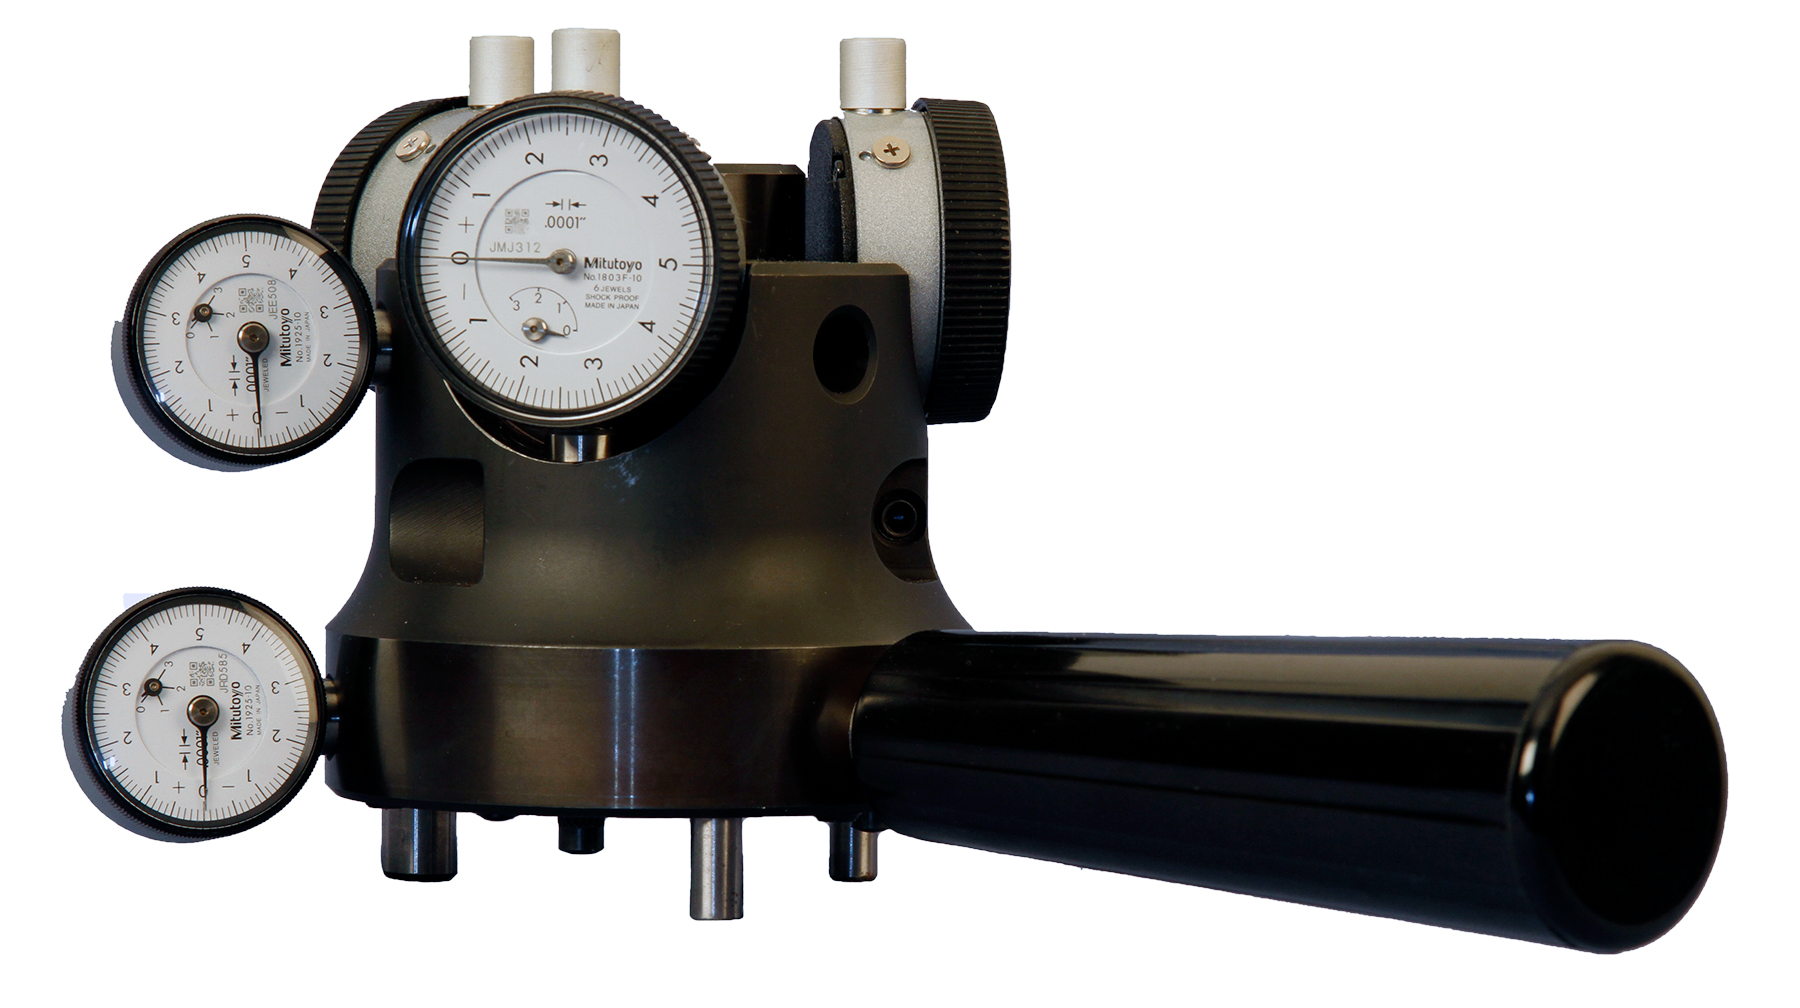
Taper Shank Test Fixture

Not all toolholder are created equally. In fact, identical holders may exhibit variances resulting from the heat treating process. But how do you know if a holder is going to be a problem?
Toolholders are subject to expansion caused by the forces of torsional stress applied to the threads during retention knob installation. While there are signs of expansion during milling operations, the naked eye cannot detect this distortion.
The patented Taper Shank Test Fixture is designed to measure toolholder expansion. Ground to mirror the CNC mill spindle taper, with indicators capable of measuring movement in increments of 1/10,000 of an inch, the Taper Shank Test Fixture is the perfect tool to verify that a holder has been made to spec. without harming the toolholder, unlike destructive Rockwell testing.
Toolholder growth of .0002” or less ensure precision milling. Use of a holder displaying growth of .0002” to .0004” should be limited to tools with axial force, such as c-drills, drills, and reamers. Any holder showing growth greater than .0004” should be removed from service and returned.
Available in 30, 40, 45, 50, and 60 taper sizes, the test fixture includes:
- Heavy duty protective case
- Optional hardened thread master (specify English or Metric threads)
- Complete instructions
